Friday, November 30, 2012

Bramaking Sew Along!

Oh I'm so excited about this!!!! I literally can't wait.
It will all start on January 7th 2013. How wonderful is that?! Amy from the ClothHabit is putting together this awesome experience for us. Go over and visit if you want to sew-along too!

On to other news, I'm going to start designing for E.B. Collectibles. E.B.C. is a supplier that services funeral homes in the south eastern part of the United States. They have asked me to design and sew teddy bears from cherished materials and clothing of deceased loved ones. Sounds like a great way to help the bereaved grieve.

I've also been applying to graduate schools and been accepted into a few. So that is super cool too!

So yup yup, that is about all! I'll be posting soon with my pattern and fabric choices for my bra! I'll be making one, two, ahhhh who knows I might make a million!

Tuesday, October 30, 2012

Wedding Under $1500? Try $1300!!!

My wonderful husband Justin proposed to me in late April of this year. After being friends for three years we decided to get married sooner rather than later. Sooner happened to be four months later on September 16th 2012. We chose this date for several reasons. One was that September 16th was our anniversary, we wanted to be married in the morning and t we wanted to start off our marital relationship with God. So Sunday the 16th was perfect for us!

You were probably pulled into this post by the title. Yes our wedding was UNDER $1500 and yes we did pull it off in under six months. It was a lot work but we had a lot of help. Before you read any further you need to realize a few things.

Things to Realize:
  • My mom, grandfather, aunts, and brother are all professional photographers so we didn't have to pay for a photographer. Most of the photography was by my awesome aunt Kara Beth Brunner of Brunner Studio.
  • My grandmother officiated so we didn't have to pay for an officiant. 
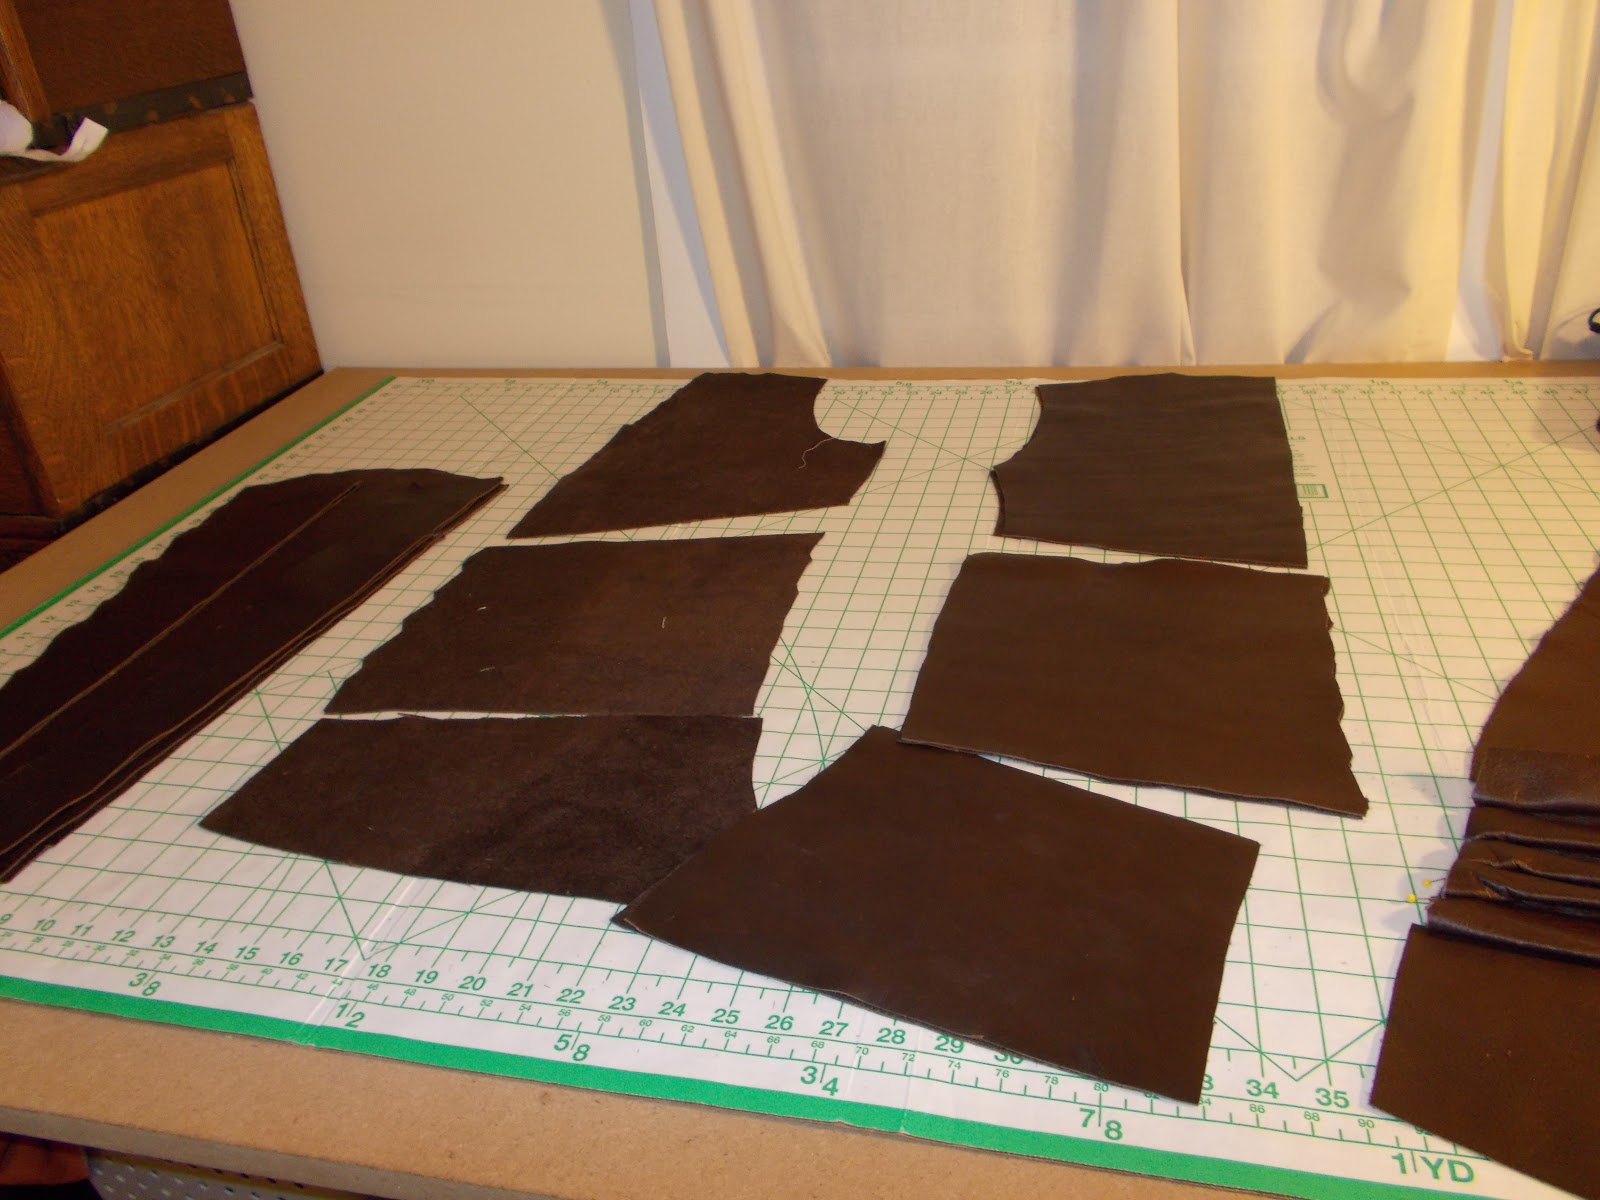
  • My mom and I made all of the bridesmaids dresses, grooms and groomsmens vests and ties, the flower girls tutu, and my wedding dress(es).
  • In May my mom and I planted tons of ferns, pansies, cockscomb, antler fern, cosmos, and many other plants in purples and oranges to decorate her yard and use for the wedding. 
  • Our neighbor is a florist at the local florist shop so he was able to get us extra flowers a the Thursday before the wedding to supplement what we had planted in the spring. 
  • We made my bouquet, the bridesmaids bouquets, corsages, and boutinerres. 
  • My family is super duper crafty.
Picture Time!
 First off LOCATION: Laurel Cove at Pine Mountain State Resort Park in Pineville KY. As a kid our mom wouldn't let us go the bathroom anywhere but at the park while on road trips to my grandparents house because it was so clean (a plus for the reception). Laurel Cove is a natural amphitheater with literally tons of seating (on the other side of the pond from where we are). Don't worry, it is an amphitheater so people could still hear. I've loved this place since I was a little girl and Justin loved it as soon as I showed it to him. See those flowers? We grew those and the ferns to decorate! We decided that we wanted to stand side by side and that we wanted our parents to stand with us too.
LOCATION: $750
This included the shelter that we used for our brunch reception.
                                                                              Seating

CEREMONY DECOR : We used the natural beauty of the area for our decorations other than our potted plants. Instead of a unity candle we used two bonsai that my mom gave to us as a wedding present. My grandmother made allusions to trees throughout the bible. She also talked about how we both had our own separate roots (families), trunks (personalities) and branches (life experiences) but that they now were going to be intertwined by marriage. As our marriage progresses we are going to train the bonsai to intertwine their branches to become two trees that can not be separated.

MUSIC: Two of my very best friends throughout middle school and high school that were on my dance team played for our wedding. Andrew Taylor and Becca Miller are two of the best musicians that I have ever had the pleasure of hearing play. We also had two of the sweetest girls sing for us, Lydia and Isabel Escobar.

                                            
The Dress: Here is my wedding dress! We used a pattern from Marfy IT, which if you don't know is a pattern company that will make you cry. You get a packet in a ziplock bag that is already cut out and then you don't get any instructions or even pictures other than the fashion drawing. I knew this in advance but it was still SUPER HARD to make, especially out of that heavy french vanilla satin! We made a short dress (tea length for the reception) out of the pattern and then made a floor length lace-up skirt to go over the dress for the ceremony.  It took a bit more fabric to create but it was SO worth it!

                                                                               Back

                                                                     Hair and Jewelry
                                                               Veil and Flowers that we made.
DRESS FABRIC COST: Let us say $120 just to be safe. That includes the crinkly chiffony netty stuff (wrinkle resistant ;) ), satin, thread, zippers (we went through a few...) and the net for the veil. 

Next up, BRIDESMAIDS DRESSES: A whopping 40 bucks for five bridesmaids and two junior bridesmaids. AWESOME! I just love sales at Hobby Lobby.
GROOMSMEN:
This fabric is called Purple Passion Fruit! How cool is that? We searched EVERYWHERE for a fabric that would match our earthy theme but didn't find anything until it was almost go time. These cost $90 for the shell and lining/ties.
RECEPTION:
The reception was a brunch held in the shelter literally a few feet away from the ceremony site. My mom, aunts, and grandmother took care of food. We had mini quiches, ham biscuits, chicken salad, fruit kebabs, and of course CAKES! On each table we had a bucket full of waters and flavor packets. My sister made the grooms cakes, she is so talented!

                   Paper Lanterns filled the shelter bringing down the ceiling to lighten the place up a bit!
                                                        Cakestands that my dad made for us.
                                                                     My brother!
                                                            Picture Pots... ah alliteration.
                                             My brother again, because he is just so darn cute!
                                       No Kentucky wedding is complete without Ale-8!
DECOR and FOOD: $258

Oh and I wore Chacos!

And lastly favors. My mom and sister made some blackberry jam from fruits off of my aunts blackberry farm.

So here is the run down again.
Location: $750
Dress: $120
Bridesmaids: $40
Groomsmen: $90
Reception: $258

TAH DAH!!! Happy planning! :)

Leather, Buffy, Chocolate and Zinfandel

It's been a while since I have been able to update the blog due to our wonderful wedding (follow link). In this post I'm going to cover cutting, stitching and gluing of the ribs, front, back and sleeves of my leather jacket. The leather is a little bit thicker than I expected and my sewing machine is having a rough time going through more than two layers of skin.

Here you can see how you have to tape the pattern pieces down in order to cut them out. This is the front breast top.


 My sweet helpers...


Checking to see that I did indeed cut out two of each piece.


Front right center piece folded and pinned to make ribs.
  The underbelly.


  "Pinning" with clips. Best.Idea.Ever.


Seams stitched but not yet glued.


 Gluing down the seams.

                                     Sewing with Buffy, Zinfandel, and dark chocolate M&Ms.


Tuesday, August 28, 2012

Sewing With Leather: The Basics

As I delve into this project I'm going to post some info that may help you to make a leather jacket of your very own. The contents below are compiled from various websites and books over the years from costuming classes. Unfortunately I don't have the links to where these came from, I just retyped it from a handout while throwing in a few extras!

Supplies:
  • Leather (duh).
  • Leather Needles (for machine and hand sewing).
  • Good quality 100% polyester sewing thread. Avoid cotton or cotton-blend threads-the chemicals used in the tanning process may cause them to rot.
  • Rubber cement to secure seams and hems, and to temporarily hold pieces in position. Pinning leather will leave permanent holes in the skin.
    • Rubber cement will stay flexible and help make the seams water resistant to boot!
    • If you find the glue isn't sticking to the finished surface of the leather you can use a bit of acetone or nail polish remover to "de-glaze" the leather first. The glue will stick much better afterwards.
    • Binder clips can be used to hold seams in place!
  • Wax or chalk for marking.
  • A rubber mallet to flatten thick areas. This feels like wack-a-mole at first but then it gets boring.  
 Pattern Choice:
  • You don't need a special pattern for sewing leather.
  • Designs that have multiple seams will make the most efficient use of skins.
  • Sleeves can be tricky as leather is difficult to ease. So watch out!
  • A muslin is essential for checking fit and seaming details.    
Cutting:
  • Leather must be cut single thickness.
  • The grain of leather runs along the backbone area of a skin.
  • The lengthwise grain is not as precise as that of fabric, but it will have less stretch and more strength than other areas of the skin.
  • When laying out a pattern, always work with the finished side of the skin facing up, checking carefully for imperfections.
  • Use masking tape to attach the pattern pieces to the skin.
Sewing and Construction:
  • Increase your stitch length as well as your patience.The thicker the seam, the longer the stitch length.
  • Leave long thread tails at the beginning and end of seams to knot by hand.
  • Leather garments are interfaced in the same areas that you would normally interface fabric.  
  • Always use a brown paper press cloth and avoid leaving the iron in one place too long-it may dry out the skin and leave a permanent mark.
  • Once seams are sewn, press them flat and open. 
  •  Darts should be slashed to within 1" (2.5cm) of the tip and pressed open. 
  • To hold seam and dart allowances open, apply a small amount of rubber cement to the garment and finger press the edges to stick into position. 
  • Always apply a narrow strip of fusible interfacing or a length of cold tape to the garment edges to stabilize the zipper area before insertion.
  • Waistbands, collar and cuff edges can be fairly thick areas to work with. Grade seam allowances and hammer as flat as possible.
Hopefully my hide will come in soon so that I can post some pictures! I'm in the process of drawing up my jacket design and hopefully making a mock-up tomorrow! Pictures soon!